Have you noticed your once-stunning garden furniture now marred by rust and wear? Don’t worry, restoring rusty garden furniture is easier than it seems. In this DIY guide, we’ll walk you through the entire process of bringing your beloved pieces back to life. Whether it’s a metal chair, table, or bench, we’ve got you covered with step-by-step instructions, tips, and tricks to ensure your furniture looks as good as new.
| Key Takeaways |
|---|
| Restoring rusty garden furniture is a cost-effective way to revive its appearance and extend its lifespan. |
| Start by assessing the rust damage and choose the appropriate removal method: manual, chemical, or power tools. |
| Safety precautions are crucial wear protective gear and ensure good ventilation when using chemicals. |
| Proper cleaning, sanding, and applying rust inhibitors are essential steps before repainting. |
| Choose high-quality, outdoor-specific paint for durability and use multiple thin coats for a smooth finish. |
| Regular maintenance and the use of outdoor covers can help protect your furniture and prevent future rust. |
| Troubleshoot common issues like paint peeling and persistent rust spots by addressing them promptly with additional treatment or repairs. |
Why Restore Rusty Garden Furniture?
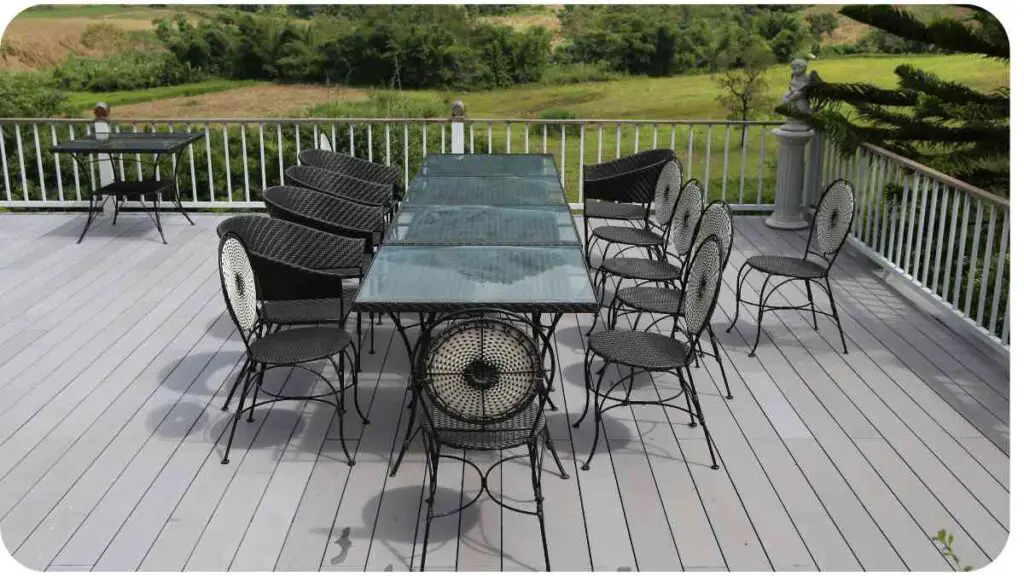
Rusty garden furniture can be an eyesore and, if left untreated, the rust can cause significant damage. Restoring it not only revives its aesthetic appeal but also extends its lifespan. Plus, it’s a cost-effective alternative to buying new furniture. Imagine turning your rusty old chair into a stylish centerpiece for your garden!
Transforming your backyard into a cozy retreat is easier than you think. Learn how to create a cozy outdoor oasis that reflects your style and comfort preferences with our expert tips.
Safety First: Precautions and Gear
Before diving into the restoration process, let’s talk safety. Rust removal can be a bit messy, so it’s crucial to take proper precautions. You’ll need:
- Protective Gear: Safety goggles, gloves, and a mask to protect yourself from dust and chemicals.
- Ventilation: Work in a well-ventilated area to avoid inhaling fumes from rust removers or paint.
Make sure to follow these precautions to keep your DIY project safe and enjoyable.
Assessing the Damage
How to Inspect Rust Damage
Start by examining the extent of the rust. Is it surface-level or has it penetrated deeper? Surface rust is easier to manage, while deep rust may require more intensive treatment.
Table 1: Types of Rust Damage
| Type | Description | Treatment |
|---|---|---|
| Surface Rust | Light discoloration, flaky texture | Sanding and painting |
| Scale Rust | More significant, rough patches | Chemical rust remover |
| Penetrating Rust | Deep corrosion causing holes or structural damage | Welding or replacement |
Tools and Materials Needed
Here’s a quick list of tools and materials you’ll need for the restoration:
- Wire brush or sandpaper
- Rust remover (chemical or natural)
- Primer and paint
- Paintbrushes or spray paint
Avoid common pitfalls in outdoor design by following expert advice. For a flawless outdoor space, check out our detailed dos and don’ts to ensure your project turns out beautifully.
Removing Rust: Techniques and Tools
Manual Rust Removal
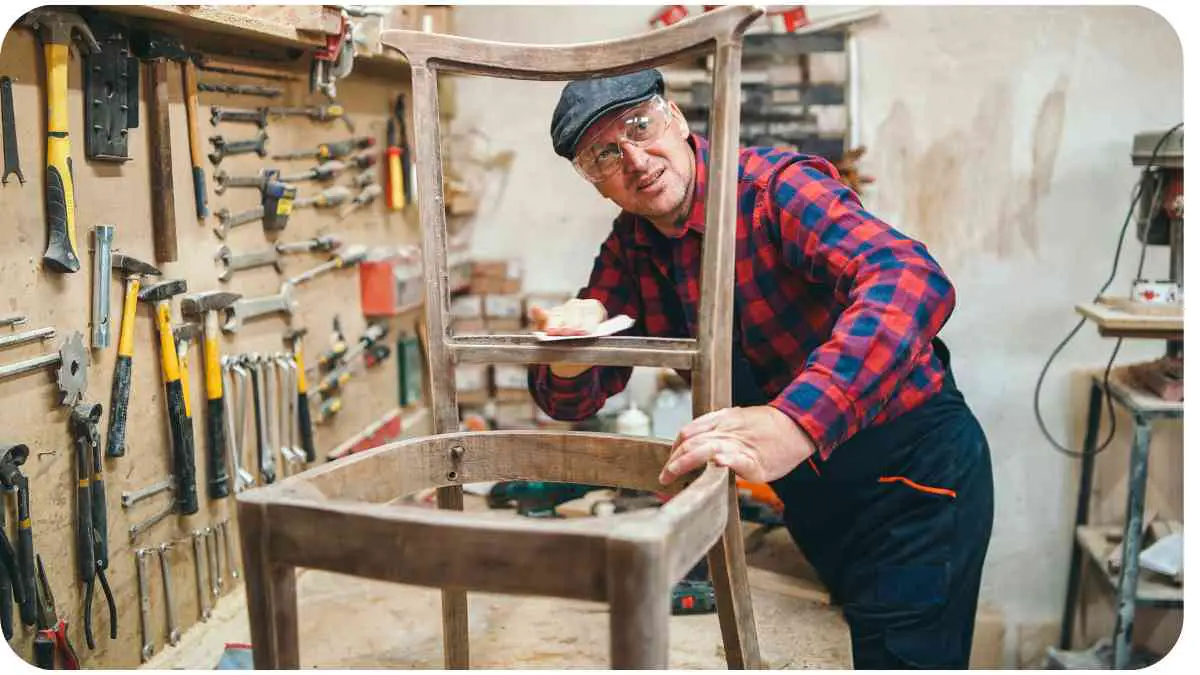
For minor rust, a wire brush or sandpaper might be sufficient. Scrub away the rust until you reach clean metal. It’s a bit like sanding a rough piece of wood to reveal its smooth surface.
Table 2: Manual Rust Removal Tools
| Tool | Use | Pros | Cons |
|---|---|---|---|
| Wire Brush | Scrubbing off surface rust | Effective, affordable | Time-consuming |
| Sandpaper | Smoothing rough patches | Good for precision | May not reach all rust |
Chemical Rust Removers
For more severe rust, chemical rust removers are your best bet. These products break down rust, making it easier to remove. Always follow the manufacturer’s instructions and use in a well-ventilated area.
Table 3: Chemical Rust Removers
| Product | Application | Pros | Cons |
|---|---|---|---|
| Rust-Oleum | Spray or gel | Fast-acting, thorough | Can be harsh, requires careful use |
| Evapo-Rust | Soak or brush | Non-toxic, easy to use | Requires longer application time |
Power Tools for Rust Removal
If you’re dealing with extensive rust, a power tool like a rotary tool with a wire brush attachment can save you time and effort. It’s like upgrading from a hand tool to a power drill—faster and more efficient.
To enhance your outdoor living area, knowing the essentials is key. Explore our list of must-haves for any outdoor space to make sure you have everything you need for an inviting and functional space.
Table 4: Power Tools for Rust Removal
| Tool | Use | Pros | Cons |
|---|---|---|---|
| Rotary Tool | Removing heavy rust quickly | Efficient, quick | Can be noisy, dusty |
| Angle Grinder | For large surfaces or heavy rust | Fast, powerful | Risk of over-sanding |
Cleaning and Preparing the Surface
Washing the Furniture
Before you start rust removal, give your furniture a good wash to remove dirt and debris. A clean surface helps the rust remover and paint adhere better. It’s like prepping a canvas before painting.
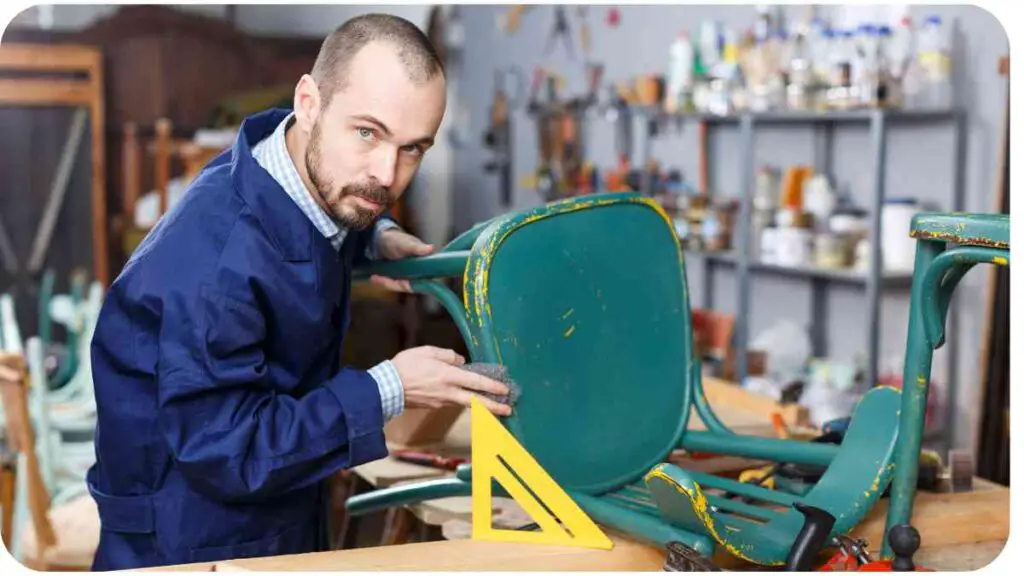
Sanding the Surface
Once the rust is removed, sand the surface to ensure it’s smooth and free of any remaining rust particles. Sanding also helps the primer stick better.
Removing Old Paint
If your furniture has old paint, remove it before applying a new coat. Use a paint stripper or a scraper to get rid of old, peeling paint.
Investing in quality outdoor furniture can make a big difference. For guidance on when and why to invest in outdoor furniture, refer to our helpful guide designed for homeowners like you.
Applying Rust Inhibitors
Types of Rust Inhibitors
Rust inhibitors are essential to prevent future rust. They come in various forms, such as primers and sealers. Choose one based on your furniture material and environmental exposure.
Table 5: Rust Inhibitors
| Type | Use | Pros | Cons |
|---|---|---|---|
| Rust-Preventing Primer | Prepares surface for painting | Prevents rust from forming | Requires careful application |
| Sealers | Protects painted surface | Provides a durable finish | May need reapplication |
How to Apply Rust Inhibitors
Apply a rust inhibitor according to the manufacturer’s instructions. Usually, this involves applying a primer and allowing it to dry before painting. It’s like applying a base coat before your final paint job.
Repainting Your Furniture
Choosing the Right Paint
Select paint designed for outdoor use to ensure durability. Enamel paints or specialized metal paints are good options.
Table 6: Types of Paint
| Paint Type | Use | Pros | Cons |
|---|---|---|---|
| Enamel Paint | Durable and weather-resistant | Long-lasting, hard finish | May require primer |
| Acrylic Paint | Flexible, easy to apply | Fast-drying, easy cleanup | Less durable outdoors |
Painting Techniques
Use even strokes and multiple thin coats for a smooth finish. It’s similar to applying a clear coat on a car—each layer builds up to a perfect finish.
Drying and Curing Time
Allow each coat to dry completely before applying the next one. Curing times can vary based on the paint used and environmental conditions.
Protecting Your Furniture
Outdoor Covers
Using outdoor furniture covers can help protect your furniture from the elements and reduce the risk of future rust.
Regular Maintenance Tips
Regularly clean and inspect your furniture for any signs of damage. A quick touch-up can prevent bigger problems down the road.
Troubleshooting Common Issues
Paint Peeling
If the paint peels, it might be due to improper surface preparation or environmental factors. Sand and repaint the affected areas.
Persistent Rust Spots
For stubborn rust spots, you may need to repeat the rust removal process or use a more aggressive rust remover.
Real-Life Examples and Success Stories
Case Study 1: Restoring an Old Iron Bench
In this case, the bench was heavily rusted and needed extensive treatment. After careful sanding and multiple coats of rust-inhibiting primer and paint, the bench was transformed into a beautiful garden feature.
Case Study 2: Reviving a Rusty Metal Table
This table had surface rust and old paint. By using a chemical rust remover and a fresh coat of enamel paint, it was revived and is now a centerpiece in the homeowner’s outdoor dining area.
FAQs
Q: How often should I check my garden furniture for rust?
A: Inspect your furniture at least once a season, especially after heavy rain or snow.
Q: Can I use regular household cleaners to wash the furniture?
A: Yes, but ensure the furniture is thoroughly rinsed and dried before proceeding with rust removal.
Q: How long does it take for rust inhibitors to work?
A: Typically, rust inhibitors start working immediately but may require several hours to fully cure.
Q: What if I miss a spot while painting?
A: Simply sand the area and apply another coat of paint.
Q: Can I use the furniture immediately after painting?
A: It’s best to wait 24-48 hours to ensure the paint is fully cured before using the furniture.
Conclusion
Restoring rusty garden furniture may seem daunting, but with the right tools and techniques, you can give your furniture a fresh lease on life. By following this guide, you’ll not only save money but also gain the satisfaction of completing a successful DIY project. So, roll up your sleeves and get started you’ll be amazed at the results!
Further Reading
For more tips and tricks on restoring rusty garden furniture, check out these resources:
- How to Remove Rust from Metal Garden Furniture
This guide offers detailed steps and recommendations for removing rust from metal garden furniture, including tools and techniques. - How to Paint Rusty Metal
Learn how to properly paint rusty metal surfaces with this comprehensive tutorial, covering preparation, painting techniques, and product recommendations. - Expert Advice on Rusty Garden Furniture
This article provides expert insights and practical advice on dealing with rust on garden furniture, including common issues and solutions.
FAQs
How often should I inspect my garden furniture for rust?
It’s a good idea to inspect your garden furniture at least once every season. Look for signs of rust, especially after heavy rain or snow, to catch any issues early.
What should I do if I find rust on my furniture?
Start by assessing the extent of the rust. For surface rust, you can sand it off and repaint. For more severe rust, use a rust remover and consider applying a rust inhibitor before repainting.
Can I use any paint for outdoor furniture?
It’s best to use paint specifically designed for outdoor use. Enamel paints or metal-specific paints are ideal as they offer better durability and resistance to the elements.
How long does it take for rust inhibitors to work?
Rust inhibitors typically start working immediately but may take several hours to fully cure. Be sure to follow the product’s instructions for the best results.
What if the paint starts peeling after I’ve restored the furniture?
If paint peeling occurs, it could be due to improper surface preparation or environmental factors. Sand the affected areas and reapply the primer and paint to fix the issue.

Hi! My name is Hellen James, and I’m a landscape designer in Los Angeles. I’ve been working with homeowners and businesses to help them improve the look of their properties for over 10 years.