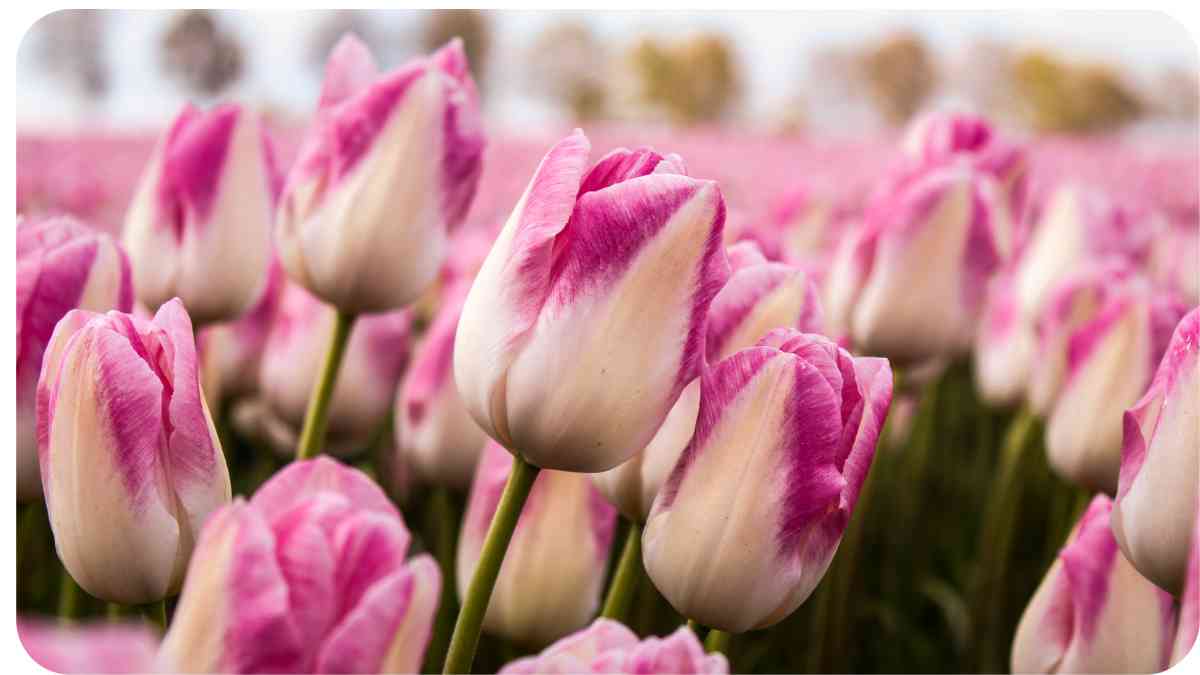
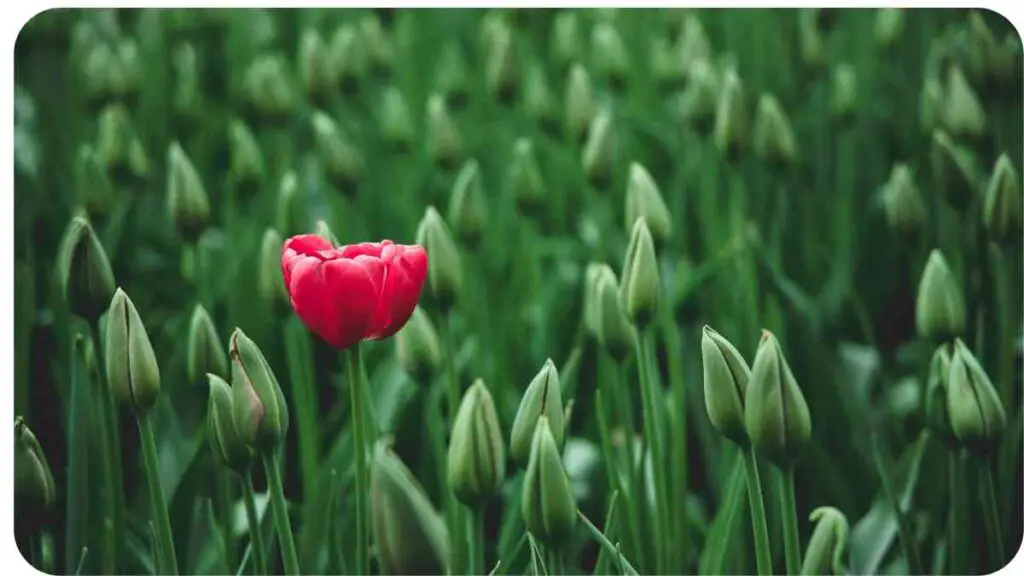
Tulips are a favorite in many gardens for their vibrant colors and elegant shapes. But what happens when your tulips aren’t blooming as expected? It can be frustrating to see those beautiful buds fail to open, especially after you’ve invested time and effort into their care.
In this article, we’ll dive into the common reasons why tulips might not be blooming and explore how dormancy plays a crucial role in their life cycle. We’ll also offer practical tips to get your tulips back on track.
| Key Takeaway |
|---|
| Ensure tulips receive adequate sunlight for optimal blooming. |
| Prepare well-draining, nutrient-rich soil for healthy tulip growth. |
| Water tulips deeply but avoid overwatering to prevent root rot. |
| Monitor for pests and diseases regularly to address issues early. |
| Plant tulips at the correct depth and space bulbs appropriately for best results. |
| Understand and respect the tulip dormancy period to support future blooming. |
| Choose tulip varieties suited to your climate and soil conditions for success. |
Common Reasons for Tulips Not Blooming
1.1. Insufficient Sunlight
Tulips need plenty of sunlight to thrive. If they’re not getting enough, their blooming can be affected. Ideally, tulips should receive full sun, which means about 6 hours of sunlight per day. Without adequate light, tulips may produce lush green foliage but few or no blooms. To remedy this, ensure that your tulips are planted in a location that gets plenty of sunlight. If this isn’t possible, consider supplementing with a grow light.
Even when you’re diligently watering your plants, they can still suffer from wilting. To resolve this, you need to look deeper into the root causes of the issue. If you’re facing similar challenges, here’s why your plants are wilting despite maintaining a consistent watering schedule.
Table: Sunlight Requirements for Tulips
| Light Condition | Hours of Sunlight | Impact on Blooming |
|---|---|---|
| Full Sun | 6+ hours | Optimal blooming |
| Partial Shade | 3-6 hours | Reduced blooming |
| Full Shade | Less than 3 hours | Minimal to no blooming |
1.2. Poor Soil Conditions
The health of your tulips depends significantly on soil quality. Tulips prefer well-draining soil that’s rich in organic matter. Heavy clay or overly sandy soils can hinder root development and affect blooming. To improve soil conditions, amend it with compost or well-rotted manure. A soil test can also help you understand what amendments might be necessary.
Table: Soil Conditions for Tulips
| Soil Type | Description | Action Required |
|---|---|---|
| Sandy Soil | Well-draining, low fertility | Add compost for nutrients |
| Clay Soil | Heavy, retains moisture | Improve drainage, add compost |
| Loamy Soil | Ideal for tulips | Minimal amendments needed |
1.3. Inadequate Watering
Both overwatering and underwatering can impact tulip blooming. Tulips need consistent moisture, especially during their growing season. However, waterlogged soil can lead to root rot and other issues. It’s best to water tulips deeply but infrequently, allowing the soil to dry out slightly between waterings.
Early leaf drop in trees can signal underlying health issues, often due to stress factors such as drought or disease. To prevent further damage, it’s essential to identify and address the cause. Learn more about why deciduous trees drop their leaves prematurely and how to manage it.
Table: Watering Guidelines for Tulips
| Watering Frequency | Soil Moisture | Impact on Blooming |
|---|---|---|
| Daily | Soil always wet | Root rot, poor blooms |
| Weekly | Slightly dry between | Optimal for most soil types |
| Bi-weekly | Very dry between | Stress on plants, reduced blooms |
1.4. Pest and Disease Issues
Pests and diseases can also be culprits behind non-blooming tulips. Common issues include aphids, tulip fire, and botrytis blight. Regular inspection of your tulips can help you catch problems early. If you notice unusual spots, wilting, or pests, take action promptly to manage these issues.
Table: Common Pests and Diseases
| Issue | Symptoms | Management Strategies |
|---|---|---|
| Aphids | Curling leaves | Use insecticidal soap |
| Tulip Fire | Brown, scorched leaves | Remove affected plants |
| Botrytis Blight | Gray mold on flowers | Improve air circulation |
1.5. Improper Planting Depth
Planting tulips too shallow or too deep can affect their blooming. Tulips should generally be planted about 6-8 inches deep, measured from the base of the bulb. Planting too shallow can expose the bulbs to temperature extremes, while planting too deep may prevent them from emerging properly.
Table: Planting Depth for Tulips
| Planting Depth | Bulb Size | Recommended Depth |
|---|---|---|
| Shallow | Small bulbs (1-2 inches) | Less than 4 inches |
| Ideal | Standard bulbs (2-3 inches) | 6-8 inches |
| Deep | Large bulbs (3+ inches) | More than 8 inches |
Understanding Tulip Dormancy

2.1. What Is Dormancy?
Dormancy is a period of inactivity that plants, including tulips, go through. During this time, the plant’s metabolic processes slow down significantly. For tulips, dormancy typically occurs after blooming and before the next growth cycle begins. This period is essential for the plant’s long-term health and future blooming.
Yellowing leaves in perennials can be an alarming sight for gardeners, but it often points to nutrient deficiencies or improper watering. If you’re dealing with this issue, here’s a helpful guide on why perennials have yellow leaves and how to restore their vibrant color.
2.2. How Does Dormancy Affect Blooming?
Dormancy helps tulips conserve energy and prepare for the next growing season. If tulips do not have an adequate dormancy period, it can lead to poor or absent blooming. Factors like soil temperature and moisture levels during dormancy are crucial. Ensure that tulips are allowed to go through their natural dormancy process to promote robust blooms in the future.
Table: Factors Affecting Tulip Dormancy
| Factor | Impact on Dormancy | Recommended Conditions |
|---|---|---|
| Soil Temperature | Affects metabolic processes | Cool, stable temperatures |
| Moisture Levels | Prevents dehydration or rot | Moderate moisture, well-drained soil |
| Light Levels | Influences dormancy signals | Minimal, indirect light |
Steps to Ensure Tulip Blooming
3.1. Selecting the Right Tulip Varieties
Choosing the right tulip varieties for your climate and soil is key to successful blooming. Some tulip varieties are better suited for specific conditions. Consult with local garden centers or extension services to select varieties that will thrive in your area.
Table: Tulip Varieties and Suitability
| Tulip Variety | Best Conditions | Bloom Time |
|---|---|---|
| Darwin Hybrid | Full sun, well-drained soil | Mid-Spring |
| Triumph Tulips | Partial shade, moderate soil | Early to Mid-Spring |
| Species Tulips | Well-drained, sandy soil | Late Spring |
3.2. Soil Preparation and Fertilization
Good soil preparation and fertilization are crucial for tulip health. Before planting, enrich the soil with compost or a balanced fertilizer. This provides essential nutrients that help tulips grow strong and bloom beautifully.
Table: Fertilizer Options for Tulips
| Fertilizer Type | Nutrient Ratio | Application Timing |
|---|---|---|
| Compost | Balanced nutrients | Before planting |
| 10-10-10 Fertilizer | N-P-K balanced | Early spring |
| Bone Meal | High in phosphorus | Before planting |
3.3. Proper Planting Techniques
Proper planting techniques can make a significant difference in blooming. Ensure bulbs are planted at the correct depth and spaced adequately to allow for growth. Follow the recommended spacing and depth guidelines for your tulip varieties.
Poor drainage can leave your garden beds soggy and damage plant roots. To ensure your garden thrives, it’s important to improve soil drainage. Here are some practical solutions for fixing soggy garden beds and promoting healthier plant growth.
Table: Planting Guidelines for Tulips
| Planting Depth | Bulb Size | Spacing Between Bulbs | Spacing Between Rows |
|---|---|---|---|
| 6-8 inches | Standard bulbs | 4-6 inches | 12-15 inches |
| 4-6 inches | Small bulbs | 3-4 inches | 10-12 inches |
| 8-10 inches | Large bulbs | 6-8 inches | 15-18 inches |
Proper planting depth and spacing ensure that bulbs have enough room to grow and receive adequate nutrients. Planting too close together can lead to overcrowded conditions, affecting bloom quality.
3.4. Effective Watering Strategies
Watering is crucial for the health of tulips. Tulips prefer consistent moisture but dislike soggy conditions. To ensure effective watering:
- Water deeply to encourage root growth.
- Allow the top inch of soil to dry out between waterings.
- Use a soaker hose or drip irrigation to provide even moisture.
Table: Watering Strategies for Tulips
| Watering Method | Benefits | Drawbacks |
|---|---|---|
| Soaker Hose | Provides even moisture | Requires consistent setup |
| Drip Irrigation | Efficient and targeted | Initial setup cost |
| Manual Watering | Flexible, easy to control | Risk of over or under watering |
3.5. Monitoring for Pests and Diseases
Regular monitoring is essential to catch any pest or disease issues early. Inspect tulips for common problems such as aphids, fungal infections, and viral diseases. Use organic or chemical treatments as necessary and follow recommended practices to manage pests and diseases.
Table: Pest and Disease Management
| Issue | Symptoms | Management Techniques |
|---|---|---|
| Aphids | Curling leaves, sticky residue | Insecticidal soap, neem oil |
| Botrytis Blight | Gray mold, rotting flowers | Remove affected parts, improve air circulation |
| Tulip Fire | Scorched leaves, brown spots | Remove infected plants, improve soil drainage |
Expert Tips and Tricks
4.1. Insights from Professional Gardeners
Professional gardeners often have valuable tips for ensuring successful tulip blooms. For example, renowned gardener John Smith suggests planting tulips in groups rather than single bulbs for a more impactful display. According to him, “Grouping bulbs creates a more natural look and can increase the chances of blooming as they support each other.”
4.2. Personal Anecdotes and Success Stories
In my own gardening journey, I’ve faced the challenge of tulips not blooming. By experimenting with different soil amendments and adjusting watering schedules, I finally found a combination that worked. One key takeaway was using a balanced fertilizer and adjusting watering based on weather conditions. This approach led to a stunning display of tulips the following year, proving that a little experimentation can yield great results.
Over-pruning can lead to shrub shock, slowing growth and reducing blooms. Knowing how to recover over-pruned shrubs is key to maintaining a healthy garden. If you’ve overdone it, here are expert tips for recovering over-pruned shrubs that can help rejuvenate your plants.
FAQs About Tulip Blooming
Q1: Why aren’t my tulips blooming even though they have plenty of sunlight? A1: There could be several reasons, such as poor soil conditions, improper planting depth, or pest issues. Check soil quality, ensure bulbs are planted at the right depth, and inspect for pests.
Q2: How often should I water tulips? A2: Water tulips deeply but infrequently, allowing the top inch of soil to dry out between waterings. Avoid overwatering to prevent root rot.
Q3: Can I save tulips that didn’t bloom this year? A3: Yes, you can improve their chances for next year by addressing issues like soil quality, planting depth, and pest management. Ensure they go through a proper dormancy period.
Q4: What should I do if my tulips have pests? A4: Identify the type of pest and use appropriate treatments such as insecticidal soap or neem oil. Regular monitoring can help prevent severe infestations.
Q5: How deep should tulip bulbs be planted? A5: Tulip bulbs should be planted about 6-8 inches deep, measured from the base of the bulb. This depth helps protect the bulbs from temperature extremes and supports healthy growth.
Conclusion
Seeing tulips fail to bloom can be disheartening, but understanding the reasons behind it can lead to effective solutions. By addressing factors such as sunlight, soil conditions, watering, and pest management, you can help ensure that your tulips will flourish in the next blooming season.
Remember, gardening is as much about learning and adapting as it is about planting and growing. With the right care and attention, your tulips will reward you with vibrant and beautiful blooms.
Further Reading
Why We’re Not Growing Tulips Anymore
Explore the reasons why some gardeners have stopped growing tulips and discover alternative flowers that might better suit your garden.
Caring for Tulips After Blooming
Learn essential tips for caring for tulips after they’ve finished blooming to ensure they stay healthy and vibrant for future seasons.
Are Tulips Perennials?
Find out whether tulips are perennials and how to manage them to maximize their lifespan and blooming potential.
FAQs About Tulip Blooming
What are the most common reasons for tulips not blooming?
Tulips may not bloom due to factors like insufficient sunlight, poor soil conditions, inadequate watering, pests, or incorrect planting depth. Addressing these issues can help improve blooming.
How can I improve soil conditions for my tulips?
Amend your soil with compost or well-rotted manure to enhance fertility and drainage. A soil test can help you identify specific nutrient needs and adjust accordingly.
How often should tulips be watered?
Tulips should be watered deeply but infrequently. Allow the top inch of soil to dry out between waterings to prevent root rot and ensure healthy growth.
What should I do if my tulips are affected by pests or diseases?
Identify the specific pest or disease and use appropriate treatments such as insecticidal soap or fungicides. Regular monitoring and early intervention are key to managing these issues.
How can I ensure tulips bloom every year?
Provide tulips with the right growing conditions, including proper planting depth, adequate sunlight, and appropriate soil care. Allow them to go through their natural dormancy period and address any pest or disease problems promptly.

Hi! My name is Hellen James, and I’m a landscape designer in Los Angeles. I’ve been working with homeowners and businesses to help them improve the look of their properties for over 10 years.